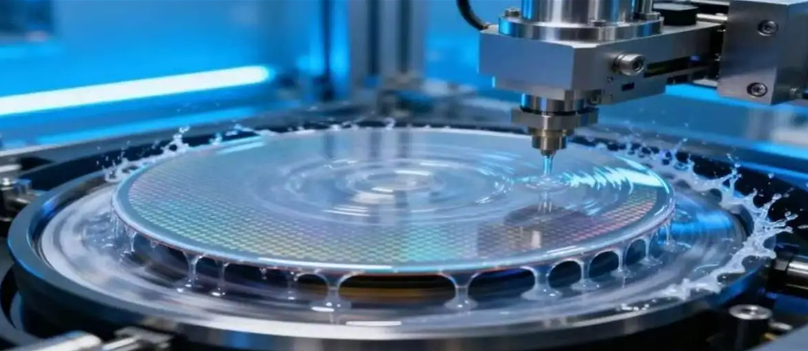
On the fab floor, bake temperature drift doesn’t show up with a warning—it shows up as linewidth variation, adhesion issues, and yield slipping away a little at a time. When the oven or lamp module isn’t hitting its mark, the photoresist profile takes a hit, and etch selectivity goes sideways. Thermal stability isn’t something you negotiate. You either control it, or the process pushes back. What matters, technically We spec the spare thermal modules with controlled-emissivity heating elements and wavelength-matched lamps, so uniformity across the chuck lands within ±0.1°C at the wafer level. That matters because soft bake sets photoresist viscosity and strips out solvent, while hard bake locks in adhesion and etch resistance. Tight uniformity cuts down reflective notching and keeps critical dimension control where it needs to be. The architecture keeps particle generation near zero, which holds up in cleanroom Class 1–100, and repeatability is baked into every profile so lithography and etch stay inside spec shift limits. Why this works in practice In high-mix fabs, the thermal budget is tight. These spares stabilize the bake window, so you keep soft bake and hard bake consistent without chasing hot spots or overcompensating with longer bakes. The payoff: fewer rework lots, less scrap, and cycle time you can plan around. Energy draw is trimmed without giving up ramp-to-soak accuracy, and the modules are built for 24/7 operation with predictable maintenance intervals—so unplanned downtime takes a hit. Things to keep in mind The spares drop into mainstream OEM tool footprints, but integration tolerances shift with chamber design, exhaust setup, and where the temperature feedback sits. Run a short qualification: verify setpoint-to-wafer correspondence, check exhaust particulate behavior, and lock the bake profile before you transfer fully. Treat thermal sensor calibration as part of install. Even a small offset will move you off spec.